

We recently discovered someone had used their Amazon Echo to create a seating plan for their wedding. Then using it on their big day to let guests find their seats.
We thought this was an amazing idea and great fun for guest! Although you might want to consider also having a traditional table plan for those who hate tech or if there are a few guests.
Here is a simple tutorial showing how you can do it yourself, with no programming skills. Using a free amazing tool called Storyline.
Here is the video that inspired the tutorial.
How to make an Alexa interactive wedding seating plan!
The first thing you need to know is this is done via an Alexa Skill.
Skills are like apps that as you might have guessed, give Alexa more skills. These can easily be added via the phone app or just by asking Alexa.
What do you need?
- Google Account – Storyline links to your Google Login.
- Amazon Account
- Amazon Echo – Any will do!
Step 1. Create your table plan list
The first thing you need is your actual table plan, to make it easier later a simple list of who is on what table.
For example:
- Henry McLean – Top Table
- Danny Low – Table 2 – Gold
No need to do this on a computer if you prefer pen and paper as its only a visual reference for later.
Step 2. Setup your skill
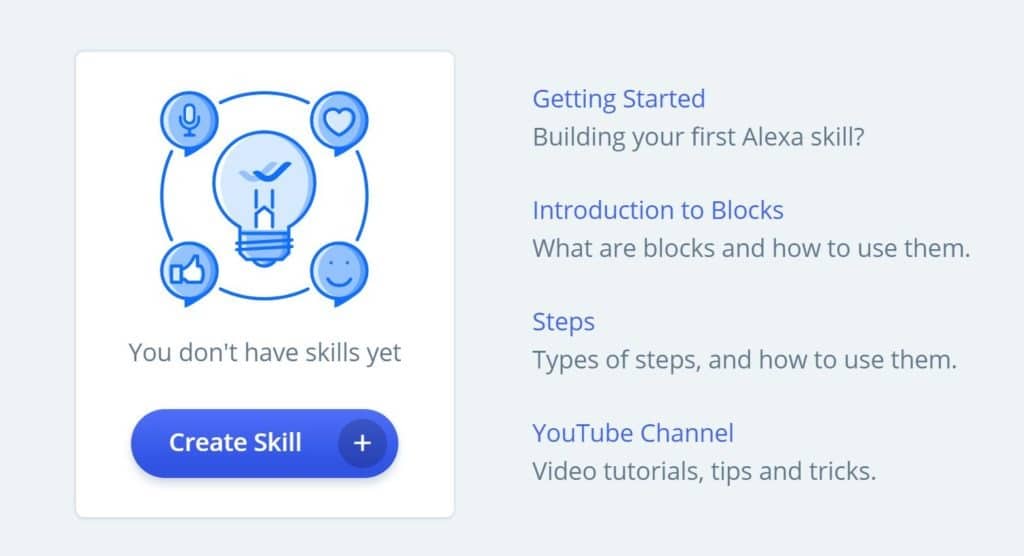
Using your Google account sign into Storyline and select ‘Create Skill’.

You will now see the Storyboard main screen, this shows all the blocks and default connections.
Step 3. Understand blocks
The next thing to understand is Stroyline works in blocks that connect together to create a Skill.
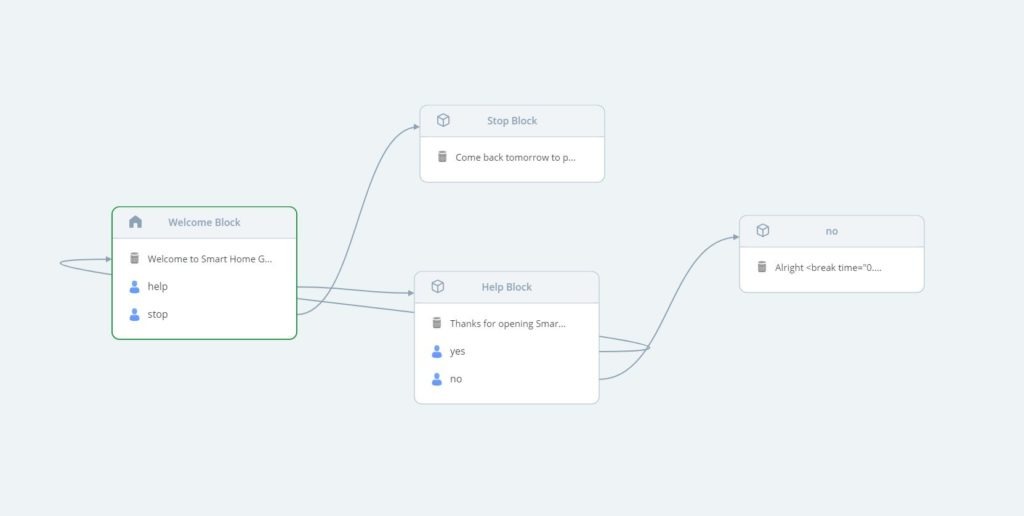

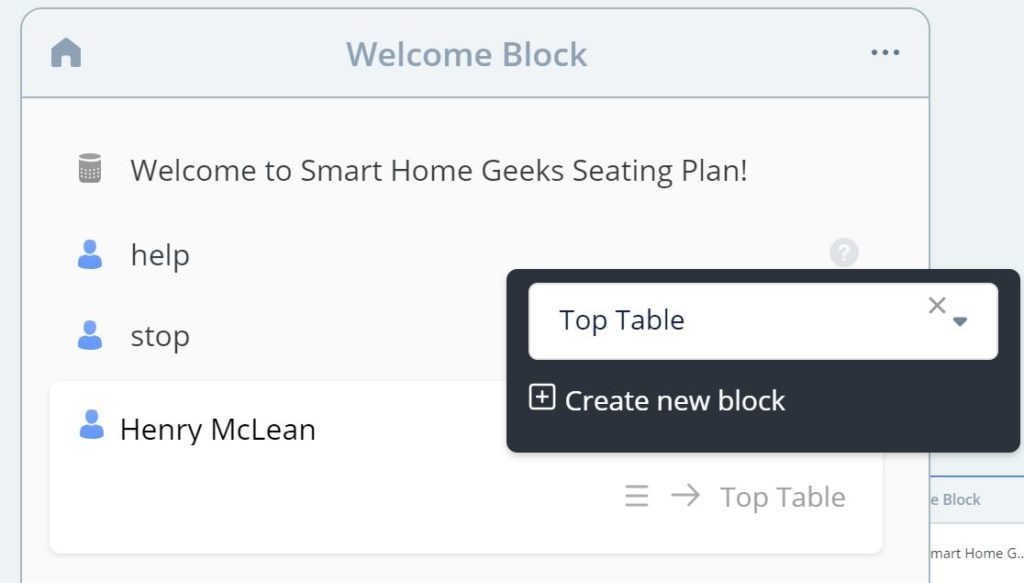
The first block you will see is the welcome block, this is the block that opens when a user opens a skill. Think of it like a journey the user starts in one block and depending on how the user interacts with Alexa depends where they end up on their journey.
Click the Welcome Block – this is the first thing to load when the skills is opened.
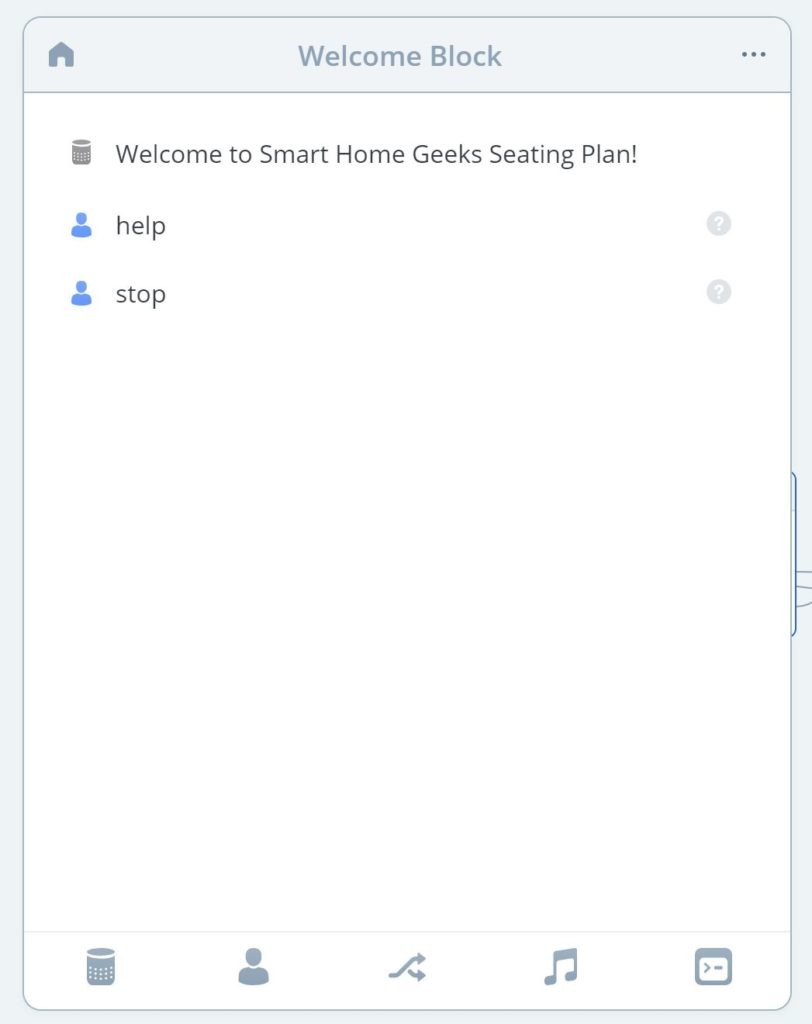

Within the block you will see two types of icons:
- Speaker – These represent Alexa saying something, see the welcome message
- People – These represent a user saying something
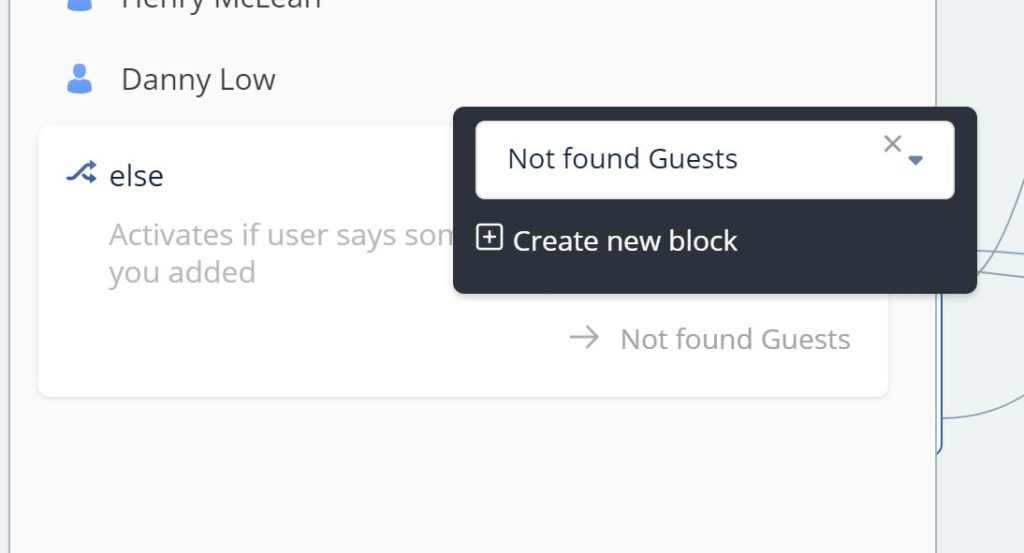
- Arrows – This is to handle an unexpected reply, called else
- Music Note – This is to add an audio element
- Code Square – This is to connect it to a web service with programming.
Click the welcome message and edit it as this will be the first thing your guests hear


Step 4. Add Guests
Now you need to add your guests to your Welcome Block. To do this click the people icon inside the Welcome Block and add their name, for example: Henry McLean.
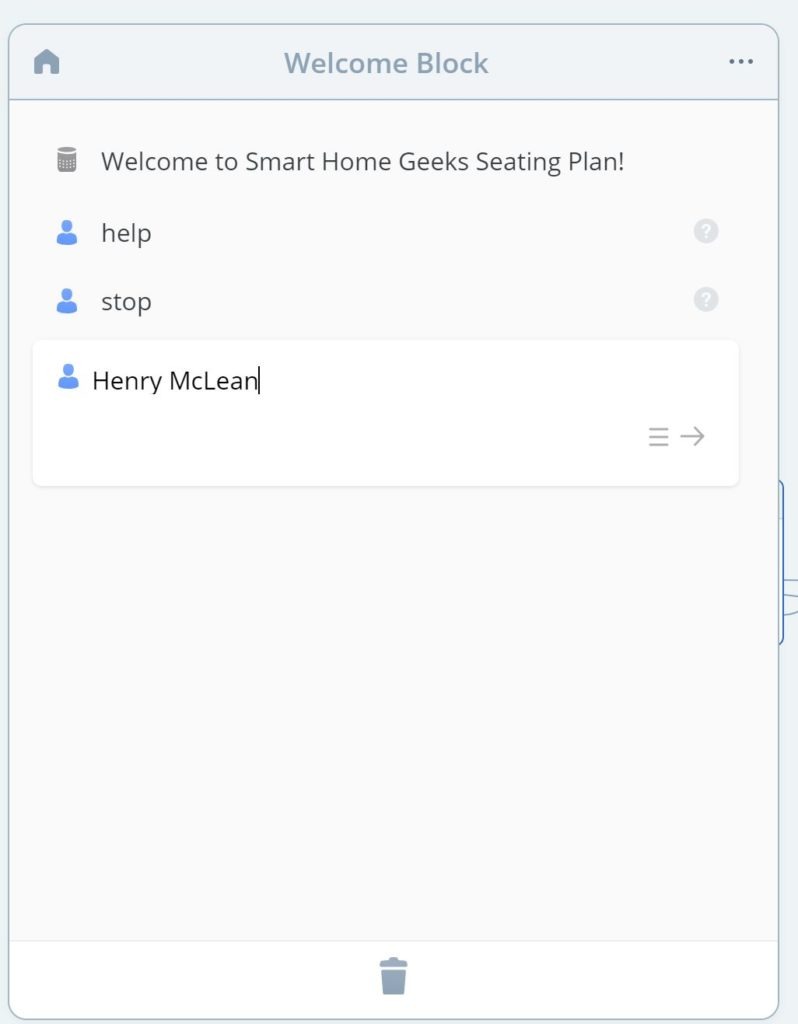

When their name has been added below the name you will see three stacked lines. This is to add variations of their name, for example ‘Tom’ might say ‘Tommy’ or ‘Thomas’. You don’t have to add these if there aren’t any, for example Henry is just Henry
NOTE: If you are desperately looking for the save button in Storyline, don’t worry it autosaves!
Keep adding your guests until they are all listed inside your Welcome Block.
When they are all added click the plus arrow top right to add a new regular block.


Next click the grey speaker icon and add something for Alexa to say.


Step 5. Add Tables
To do this we are going to make a new block for each table. Again click the square with the plus symbol in it, top right and select regular block. A block will be added.
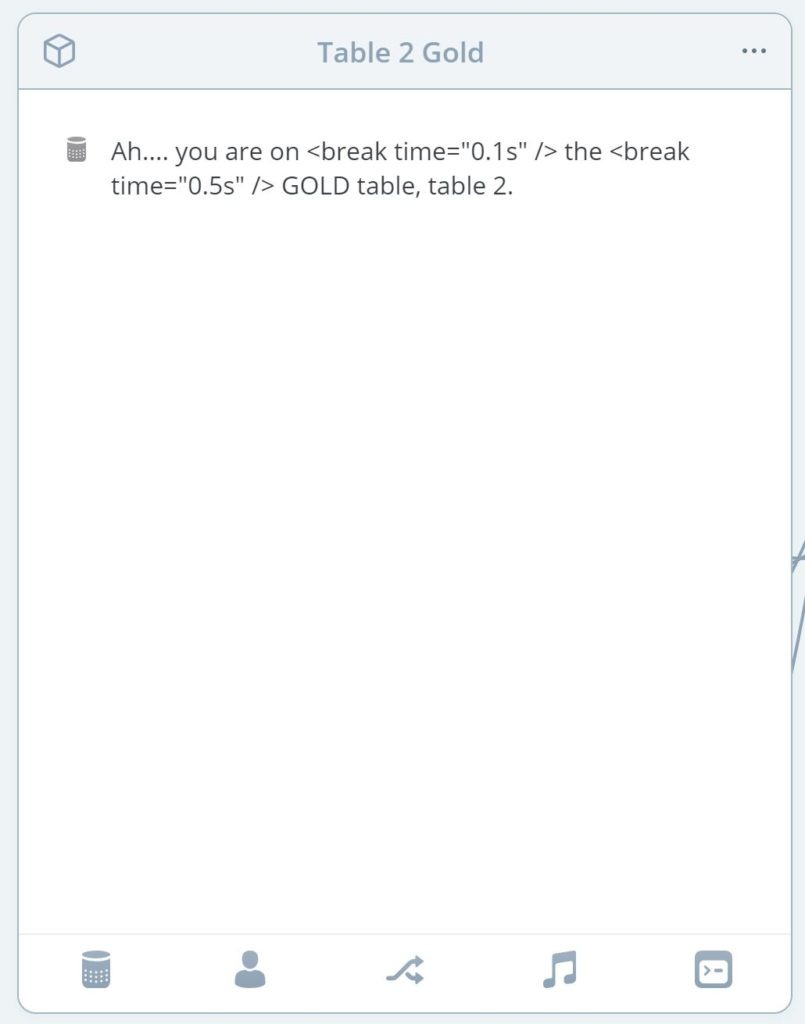
Click the name of the block and name it, for example: Table 2 Gold
Now we need to make Alexa say the name of the table. To do this click the speaker symbol in the block and add your message for Alexa to read. You can use normal punctuation and Alexa will just read it.
To add a bit of suspense you can add a delay by using <break time=”0.1s” />
If you make a mistake and want to remove a table click the dots top right and click remove block.

Step 6. Allocate the guests.
Now you should have all your guests in the welcome block and all your tables set up as separate blocks. The next thing to do is assign guests to tables.
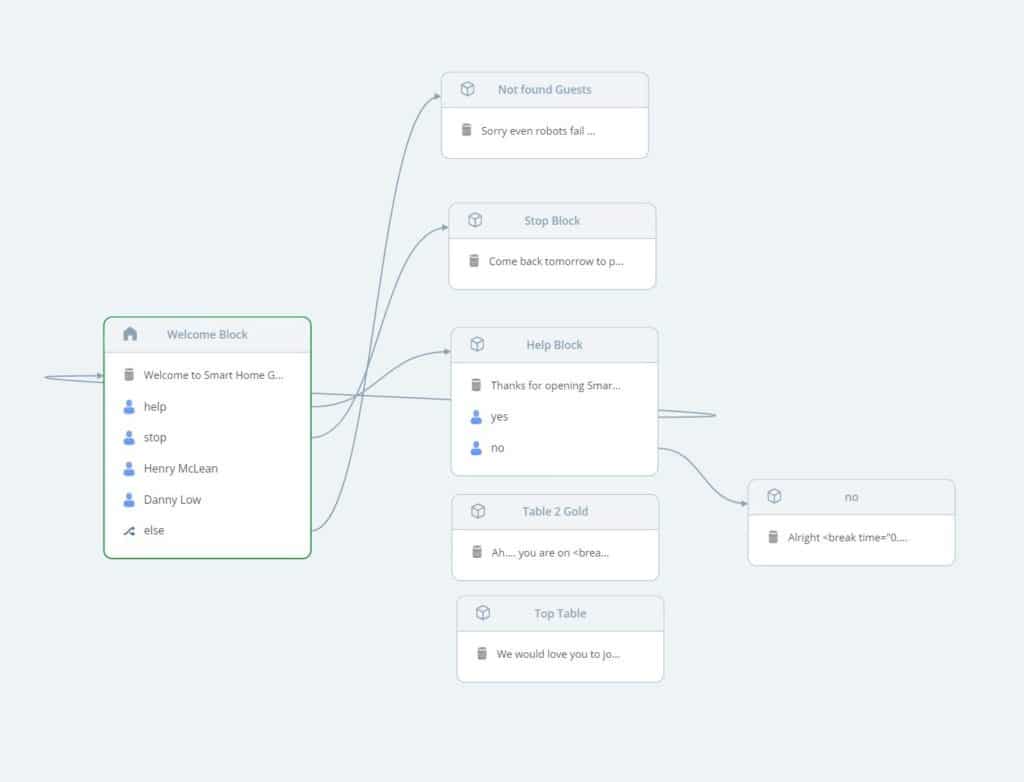

On your Welcome Block click a guest, you will see an arrow to connect a user. From the drop down select their table.

Go through each guest selecting a table.
Step 7. Essential blocks
Next you need to customise the required blocks, to do this click the block and edit the text.
The required blocks are:
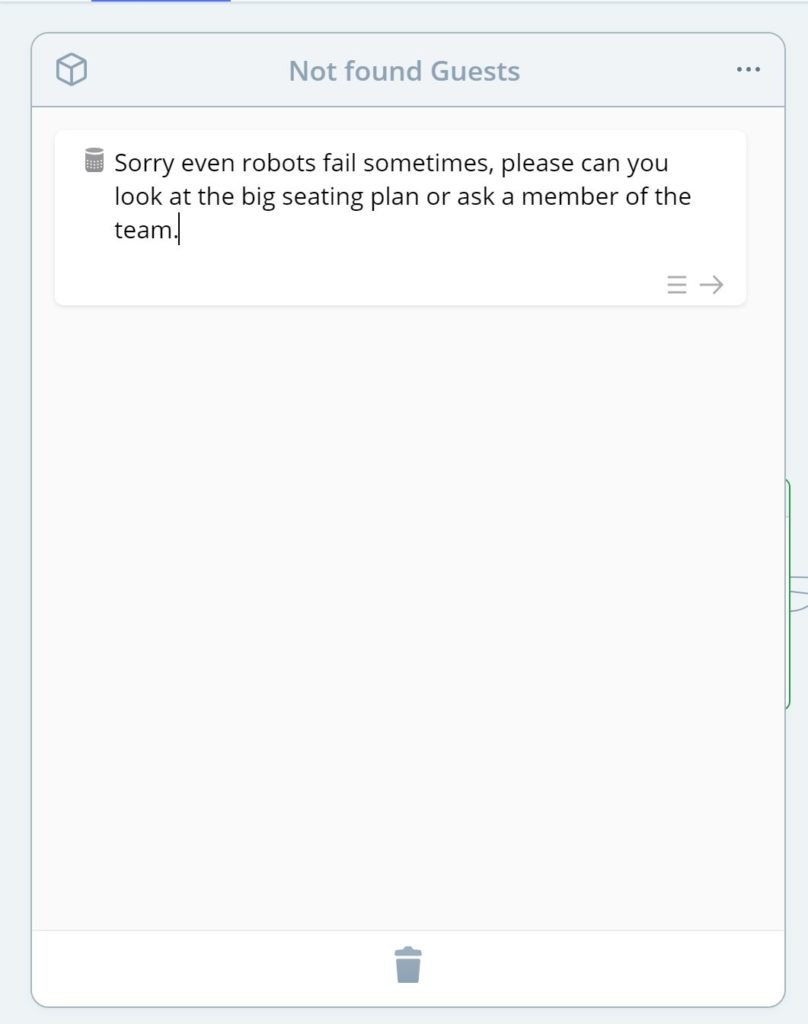
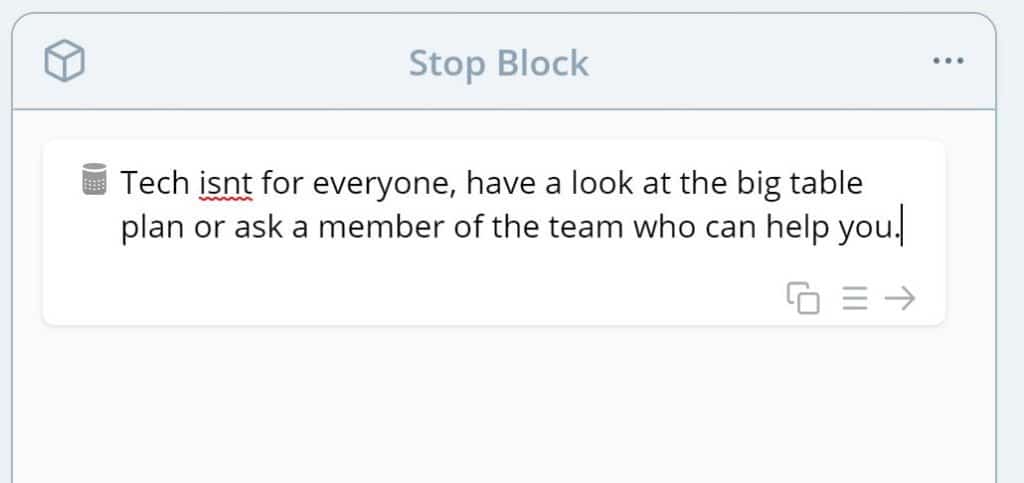
Help – This block opens if a user asks for help at any point, as part of it you must have a Yes and No. By default the yes goes back to the start and the no goes to the Stop Block.


Stop – This is if a user says stop at any point.

That is it, hard work done.
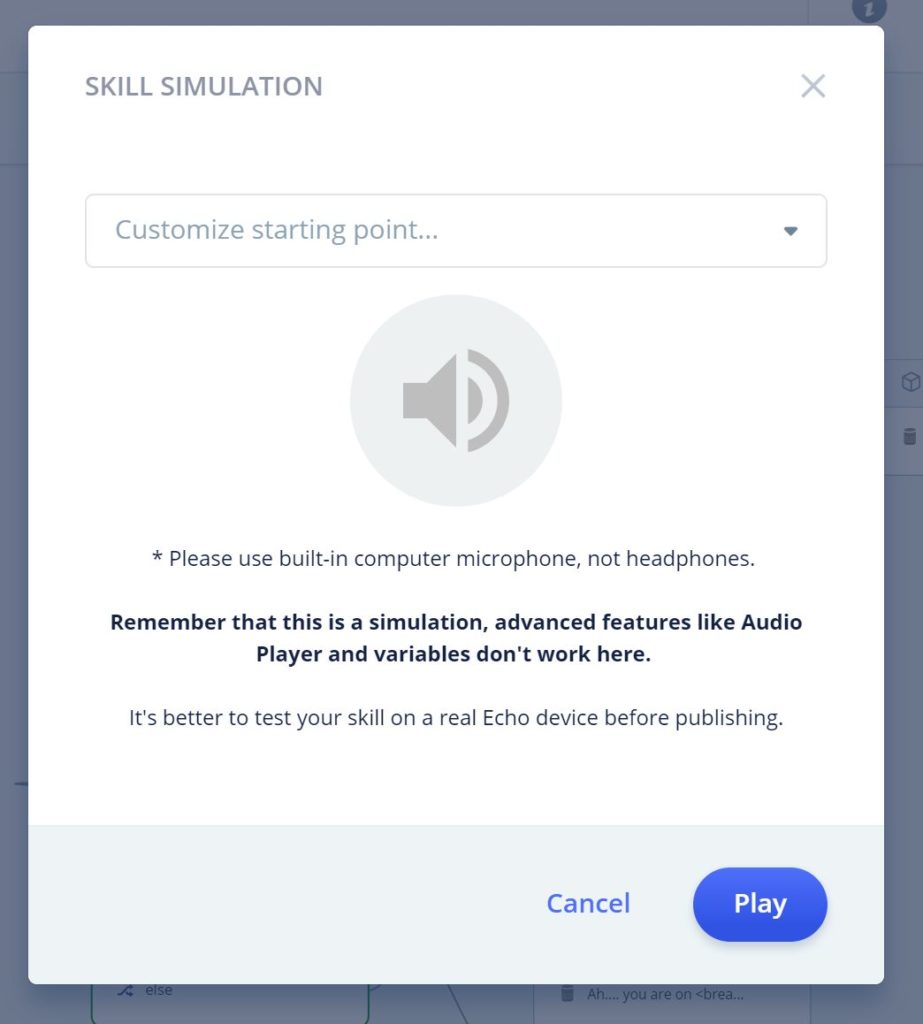
Step 9. Test the skill
The quickest way to test the skill is in browser clicking the play button top right. Hopefully it should work exactly as you wanted. However note this is only a simulation.

Thats it, your hard work is done!


Step 10. Go live!
We suggest you only publish it to your own Amazon Echo as this keeps it as a surprise. If you really want to you can publish from Storyline into the full Alexa Skill Store but then anyone can access it. The other benefit to keeping ‘local’ is you can do it instantly NOW and do not need to complete forms or design icons or wait for Amazon to test and approve it.


To go live on your own Amazon Echo you release the skill as development. To do this click the upload to Alexa button top right. You will now be asked to connect to an Amazon Developer account, if you do not have one don’t worry its free and you can sign in with Amazon to make one.
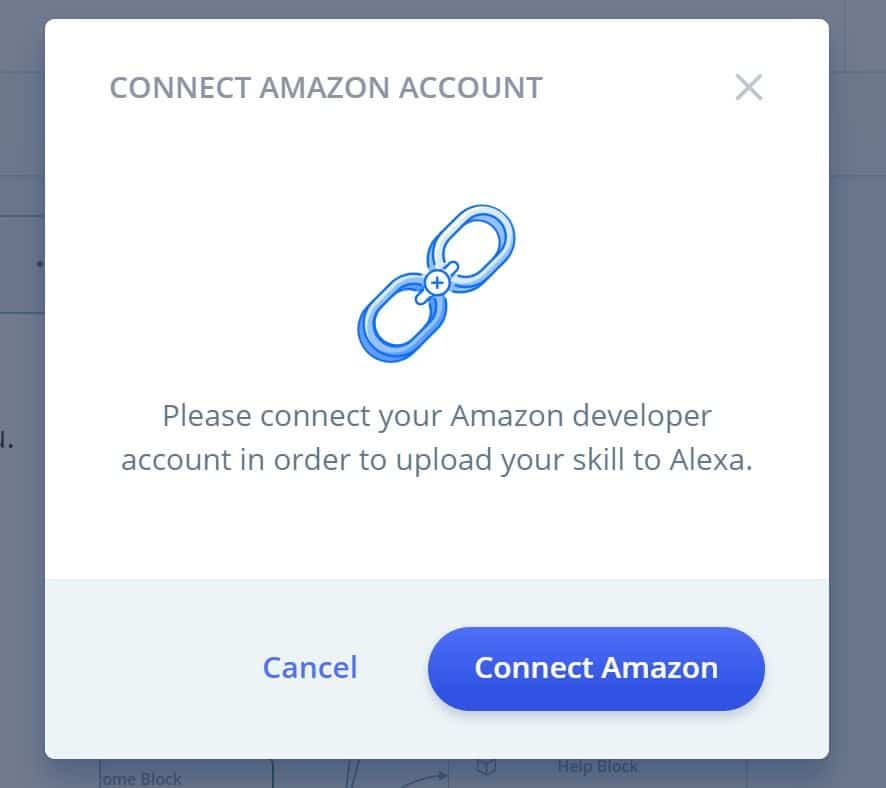
This will add it to your registered Amazon Echo and keep it private. A green tick indicates it has been uploaded. If you open the Alexa app on your phone and click your skills scroll far right, you will see it under dev skills.

Now you can ask Alexa ‘Open Henry and Dannys Wedding’ or whatever you named your skill to try it in real life.
Let us know how you get on with your skill in the comments and don’t forget to like us on Facebook and follow us on Twitter.